The Design Principles of Pixel Art QR Codes: How to Draw a Picture Inside a Code Without Breaking It
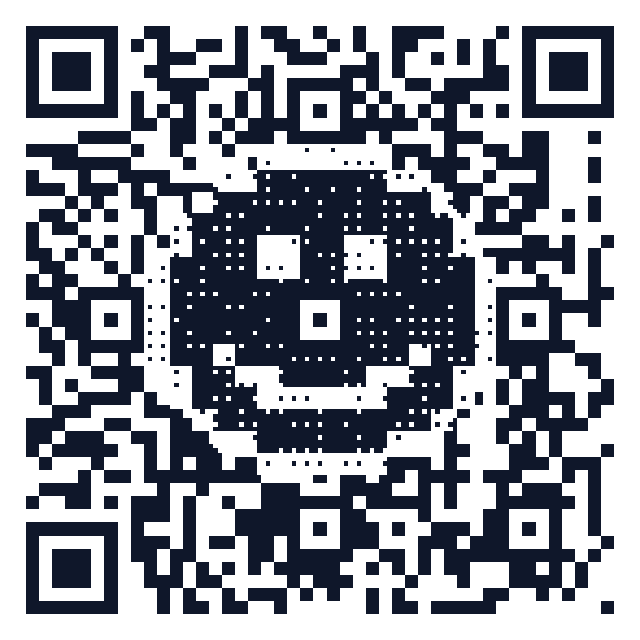
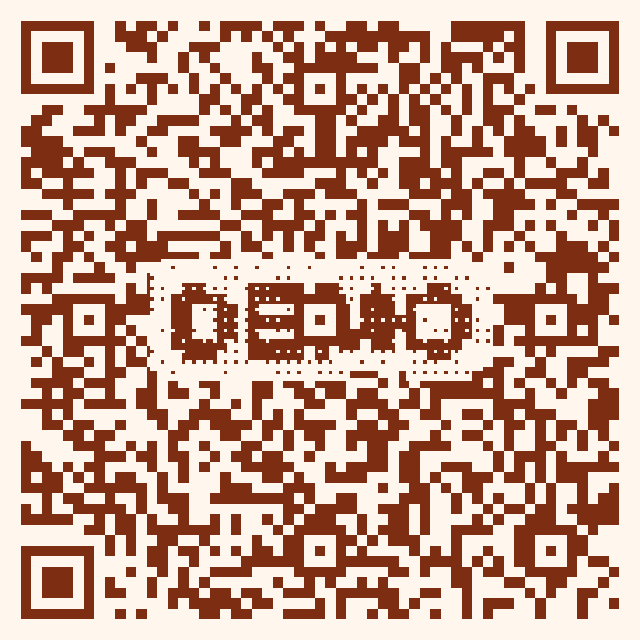
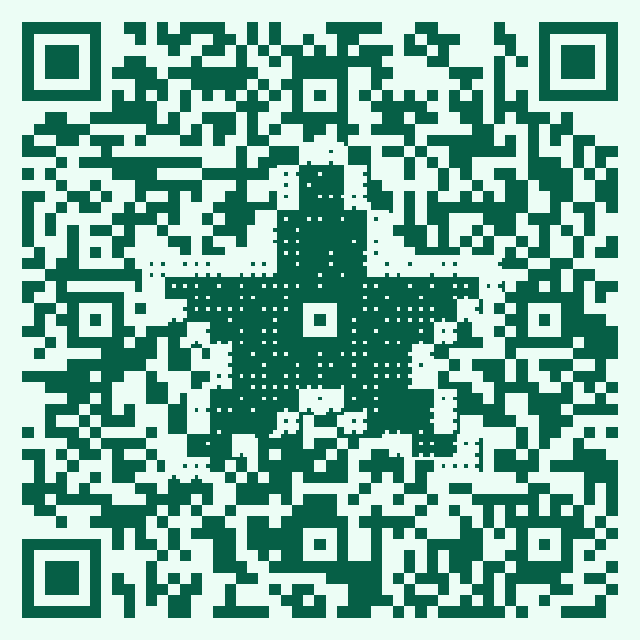
A QR code is already pixel art: a grid of dark and light squares. That coincidence is what makes it possible to draw a smiley, a star, or the word DEMO inside a working code. But the grid is not a free canvas — some squares are load-bearing. This article explains, from the standard up, exactly which pixels a designer may touch, how big the artwork can get, which colors are safe, and how to prove the result scans before anything goes to print. Every sample below is real output from the freeHonestQR pixel-art generator and was machine-decoded before publishing.
1. Know your grid: which modules are load-bearing
Every QR code is made of modules — the small squares — and they fall into two classes.Function patterns exist so a scanner can find and align the code: the three large finder squares (with their one-module separators), the dotted timing lines that connect them, the smaller alignment squares scattered through bigger codes, and the format/version strips that hug the finders. These are read beforeerror correction applies, so artwork must never overlap them. Everything else is data modules — the payload plus its error-correction words — and that is the designer's canvas.
- Untouchable: finder patterns + separators, timing lines, alignment patterns, format & version information, and the quiet zone (the empty border, at least 4 modules wide).
- Paintable: the data region between them — typically 70–80% of the grid.
2. Center sampling: the loophole that makes halftone art possible
A decoder does not read every pixel. After locating the finders it lays a sampling grid over the image and readsone point near the center of each module. The outer ring of every module is, to the scanner, pure decoration. Halftoning exploits this: subdivide each module into a 3×3 grid of subcells, keep thecenter subcell at the module's true value, and render the artwork in the 8 surrounding subcells. The picture emerges from the texture of the whole code while the sampled data stays byte-for-byte intact. This is why a well-built pixel-art code spends almost none of its error-correction budget on the art — unlike a pasted-on logo, which flips every module it covers.
3. The damage budget: error correction level H buys you ~30%
Reed–Solomon error correction lets a code survive damage: level L tolerates roughly 7% of codewords being wrong, M 15%, Q 25%, and H 30%. Pixel-art codes should always use level H. The art itself consumes very little of the budget (a few modules where a subcell pattern reads ambiguously), which leaves the rest as a real-world safety margin for glare, curvature, and printing defects. The trade-off: H stores the most redundancy, so the same URL needs a denser code than at level L. That trade is almost always worth it — readour error-correction guide for the full math.
4. Version is resolution: bigger codes give the art more pixels
QR versions run from 1 (21×21 modules) to 40 (177×177), growing 4 modules per version. For pixel art the version is effectively the resolution of your canvas: a 16×16-subcell icon that looks cramped on a version-3 code renders comfortably on version 7+ (45×45 modules = 135×135 subcells). The two star/smiley samples above encode short URLs that would fit in a version-2 code, but were deliberately generated at versions 7 and 9 to give the artwork room. The cost of a higher version is smaller modules at the same print size — so if you force a big version, print the code larger (see the minimum-size chart).
5. Color rules: contrast is measured by the scanner, not your eye
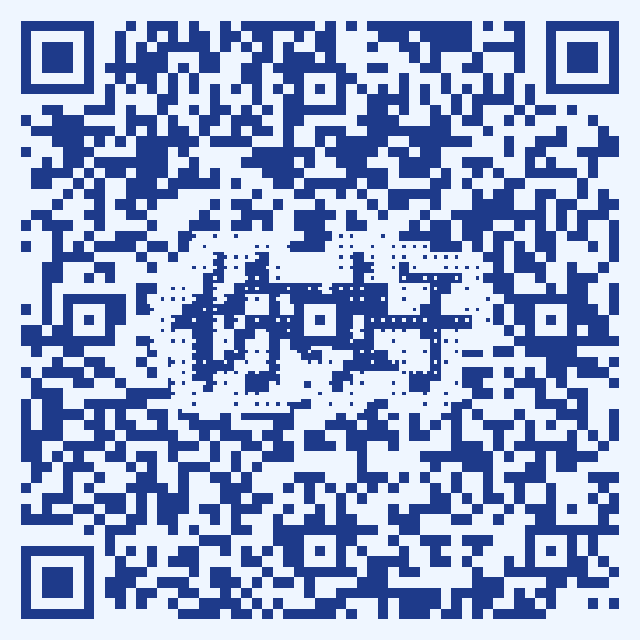
- Dark art on a light background. Decoders binarize the image; the "dark" color must stay clearly darker than the "light" one under grayscale conversion. Dark navy on pale blue works (see the 你好 sample); yellow on white does not.
- Never invert. Light-on-dark codes fail on many older scanners.
- Keep gradients gentle. A gradient is safe only if its lightest stop still contrasts with the background everywhere in the code.
- Respect the quiet zone. The white border is part of the spec — art, frames, and captions all stay outside it.
6. Trust nothing: machine-verify every render
The rules above make failure unlikely, not impossible — a dense URL, an aggressive icon, and an unlucky mask pattern can still combine into a code that reads slowly or not at all. The only honest guarantee is todecode every rendered code with a real QR reader before shipping it. The HonestQR generator runsjsQR on each render; if verification fails, it shrinks the artwork step by step until the code decodes, and only then enables the download. The four images in this article passed the same pipeline — the PNGs you see were themselves decoded back to their URLs as the final check. If your tool of choice doesn't verify, test with a phone at print size, from a realistic distance, or use the freeQR scan tester.
7. A practical workflow
- Pick the shortest URL you can — shorter payloads leave more room for art at a given version.
- Set error correction to H and a minimum version of 6–9 depending on art size.
- Draw or choose the art: icons up to roughly one third of the grid width are safe; pixel text reads best at 2–8 characters.
- Choose a high-contrast palette; verify; export SVG for print, PNG for screens.
- Print at 2×2 cm or larger and scan the physical proof before mass production.
You can try every step free in the HonestQR generator (Pixel art tab) — no account, no watermark, and the codes are static, so they never expire. More background: why artistic QR codes still scan andthree ways to put a picture inside a QR code.
Generate a free QR code that never expires
No signup. No subscription. Generated in your browser.
Open the free generator →